Homemade Challah Bread Recipe
Have you ever wanted to try making your own braided bread? This easy challah bread recipe is so delicious you will love making this recipe. This recipe makes dough that is easy to work with so it is great for beginners. Plus, it is dairy-free!
In this blog post, you will learn how to make an easy Challah bread recipe.
How to Make Challah Bread
How to Braid the Bread

To make braided bread, separate your risen dough into three equal parts.

You can use a scale to weigh and separate the dough evenly. Roll out your dough pieces into long rolls with tapered ends. Keep the dough pieces about ½ inch apart on the counter.

At the top of the braid bring the pieces together to stick, then braid the dough pieces by only folding them over the top. At the end of the braided dough, bring the pieces together to stick. Gently lift off of the work top and place into a 9”x13” dish lined with parchment paper.

I do not measure how long to roll out my dough pieces. The easiest way to measure them is to place your baking dish beside the dough and eye it up for how long they can be so that the challah will fit in the dish. If the dough is a little longer than the dish that is ok because your dough will lose length as you braid it. Try not to make it too much longer than the dish however.

How to Activate my Yeast?
Yeast Activation is the process of rehydrating and activating yeast. Yeast is a living organism, so activation is you making sure that the yeast is alive. As a living organism, yeast needs warmth and food (usually sugar) to ferment.

If the yeast does not foam or produce bubbles during activation, it may be inactive or expired, and you will need to start over with fresh yeast.
Sometimes a house can be too cold for the yeast to properly activate. It could still have developed bubbles but did not reach the full foaming that you are looking for. To combat this, you can either turn the heat on to warm the house a little before baking or turn on your oven let it heat a bit, turn it off then put the yeast into the warm oven to activate.
Challah Bread Variations
While the classic challah is slightly sweet and braided, there are many variations:
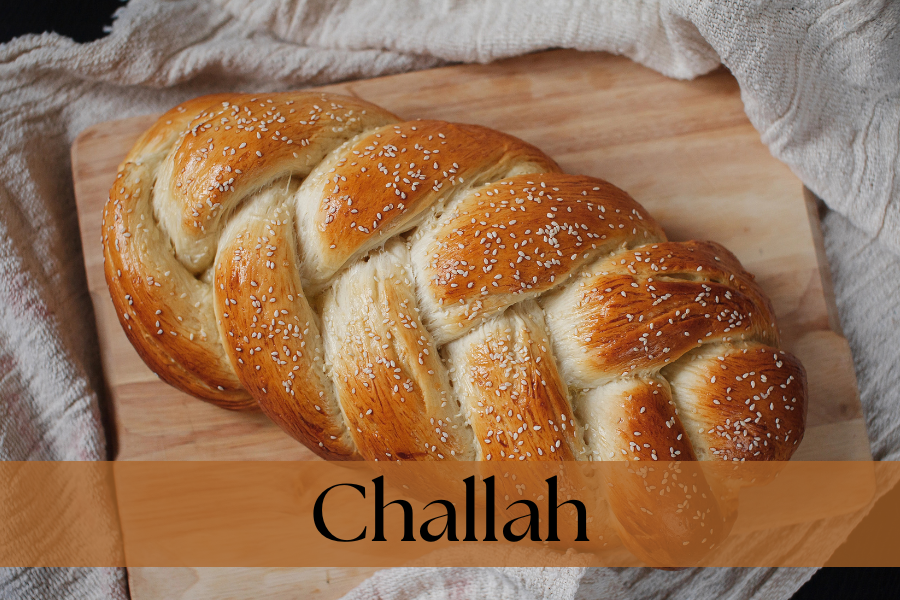
- Sweet Toppings: sometimes topped with sesame seeds, poppy seeds, or coarse salt.
- Stuffed Challah: filled with ingredients like chocolate, nuts, or dried fruits.
- Round Challah: often made for Rosh Hashanah to symbolize the cycle of the year.
Can I store the Challah Overnight?
Yes, you can. Make the Challah up to step 10, then cover in plastic wrap in the dish and leave in the fridge overnight. In the morning, remove Challah from the fridge and let it warm up to room temperature before you bake it, about 1-2 hours. Continue at step 12.
Ingredients

Strong/Bread Flour: bread flour has more protein in it than all-purpose flour. This will make the challah bread chewier.
Granulated Sugar: sugar feeds the yeast in the yeast activation stage and adds the sweetness needed to the bread.
Warm Water: warm water gives the liquid needed for the dough. Warm water helps the yeast to activate.
Yeast: yeast is the leavening agent in this recipe for making the bread rise.
Salt: salt enhances the flavour.
Olive Oil: olive oil adds moisture and richness. By using olive oil instead of butter, the challah bread is dairy-free.
Eggs: eggs enrich the dough and provides the golden-crust when coated on top of dough before baking.
Tips
- Bread flour/strong flour is highly recommended for this recipe; however, if you do not have any, you can use all-purpose flour.
- To keep homemade bread fresh for as long as possible, store it in airtight containers or resealable plastic bags to prevent moisture loss and exposure to air. Avoid storing bread near heat sources or in direct sunlight, as this can cause it to dry out or become stale faster.
- If there are not a lot of bubbles in the liquid that you added the yeast to after 10 minutes, continue to let it sit covered for another 5 minutes in a warm place until there are more bubbles. This is the step of activating the yeast and without it being activated the dough and eventually bread will not rise properly.
- If the yeast is not activated within 20 minutes, your house might be too cold, and you will need to restart the yeast activation process. See the heading How to Activate my Yeast for tips on how to activate your yeast for cold homes.
- If the dough gets too sticky while kneading add about a teaspoon of flour to the dough and continue to knead adding extra flour to the dough and to the worktop as needed. Try to add as little extra flour to this recipe as possible.
Try these other bread recipes.

Challah
Ingredients
- 3 c. bread flour/strong flour (500g)
- 1/3 c. sugar granulated
- 7 g sachet fast-action dried yeast
- 2 eggs beaten
- 2 tsp. fine salt
- 7 fl. oz. lukewarm water (200ml)
- 2 ½ fl. oz. olive oil (70ml)
- Optional sesame seeds or poppy seeds
Instructions
- In a small bowl, combine 2 tbsp. of warm water, yeast packet, and a pinch of sugar. Whisk together until the yeast is dissolved. Cover with a clean tea towel and let sit for 10 minutes until foamy.
- In a large separate bowl, mix flour, the rest of the sugar, and the salt. Make a well in the centre of the flour mixture.
- Pour into the centre of the well, the yeast mixture, half of the two beaten eggs, and the oil. Mix together slightly then add the lukewarm water and stir.
- Once slightly mixed together, use your hand to combine the rest of the way.
- Pour out onto a floured surface and knead for 10 minutes until dough is smooth and springy. When dough starts to get sticky, you can add a bit of flour but try to use as little flour as possible.
- When finished kneading your dough, pull the sides of the dough down and try to form a nice ball. Place into a lightly oiled bowl and coat in a thin layer of olive oil. Cover with a clean towel and place in a warm place for 1 hour, or until the dough has doubled in size.
- Line your 9”x13” baking dish with parchment paper.
- Once risen, remove from the bowl and place dough onto a clean surface. Cut the dough apart into three equal pieces. You can use a scale for exact weight measurements.
- Roll each of the three pieces out into long sausage shaped cylinders with tapered ends, approximately 13” long.
- Place the three pieces of dough about 1/2” from each other on the worktable. Bring the top of the tapered edges together to connect them. Braid the dough. At the end of the braid, bring the tapered edges together and connect them.
- Gently lift off of the table and place into your baking parchment lined dish. Cover with a clean tea towel and let rise for another 40 minutes until braid has risen and is pillowy.
- Once risen, preheat oven to 400℉/200℃/Gas Mark 6.
- Use the rest of your beaten egg and coat the top of the challah making sure to get into the crevices of the bread. If adding seeds, sprinkle them on top of the challah after coating the challah with the beaten egg.
- Place bread into oven on second lowest rack and bake for 25-30 minutes. Check after 15 minutes to make sure that it is not browning too quickly on top. If it is browning too quickly, place tin foil on top of bread and continue to bake the challah. You will know that it has finished baking when the challah sounds hollow when it is tapped on the bottom and the bottom is a golden-brown colour.
- Cool on a wire rack then serve.
Notes
Author: Sarah Young